

My first post, and hopefully it’s a useful one. I’ll be doing the remainder of the base as a set of posts.
The base is a 90mm round base, and it’s going to be for a Space Marine Primaris Invictor Warsuit. It’s also going to be one of my Golden Demon 2020 entries.
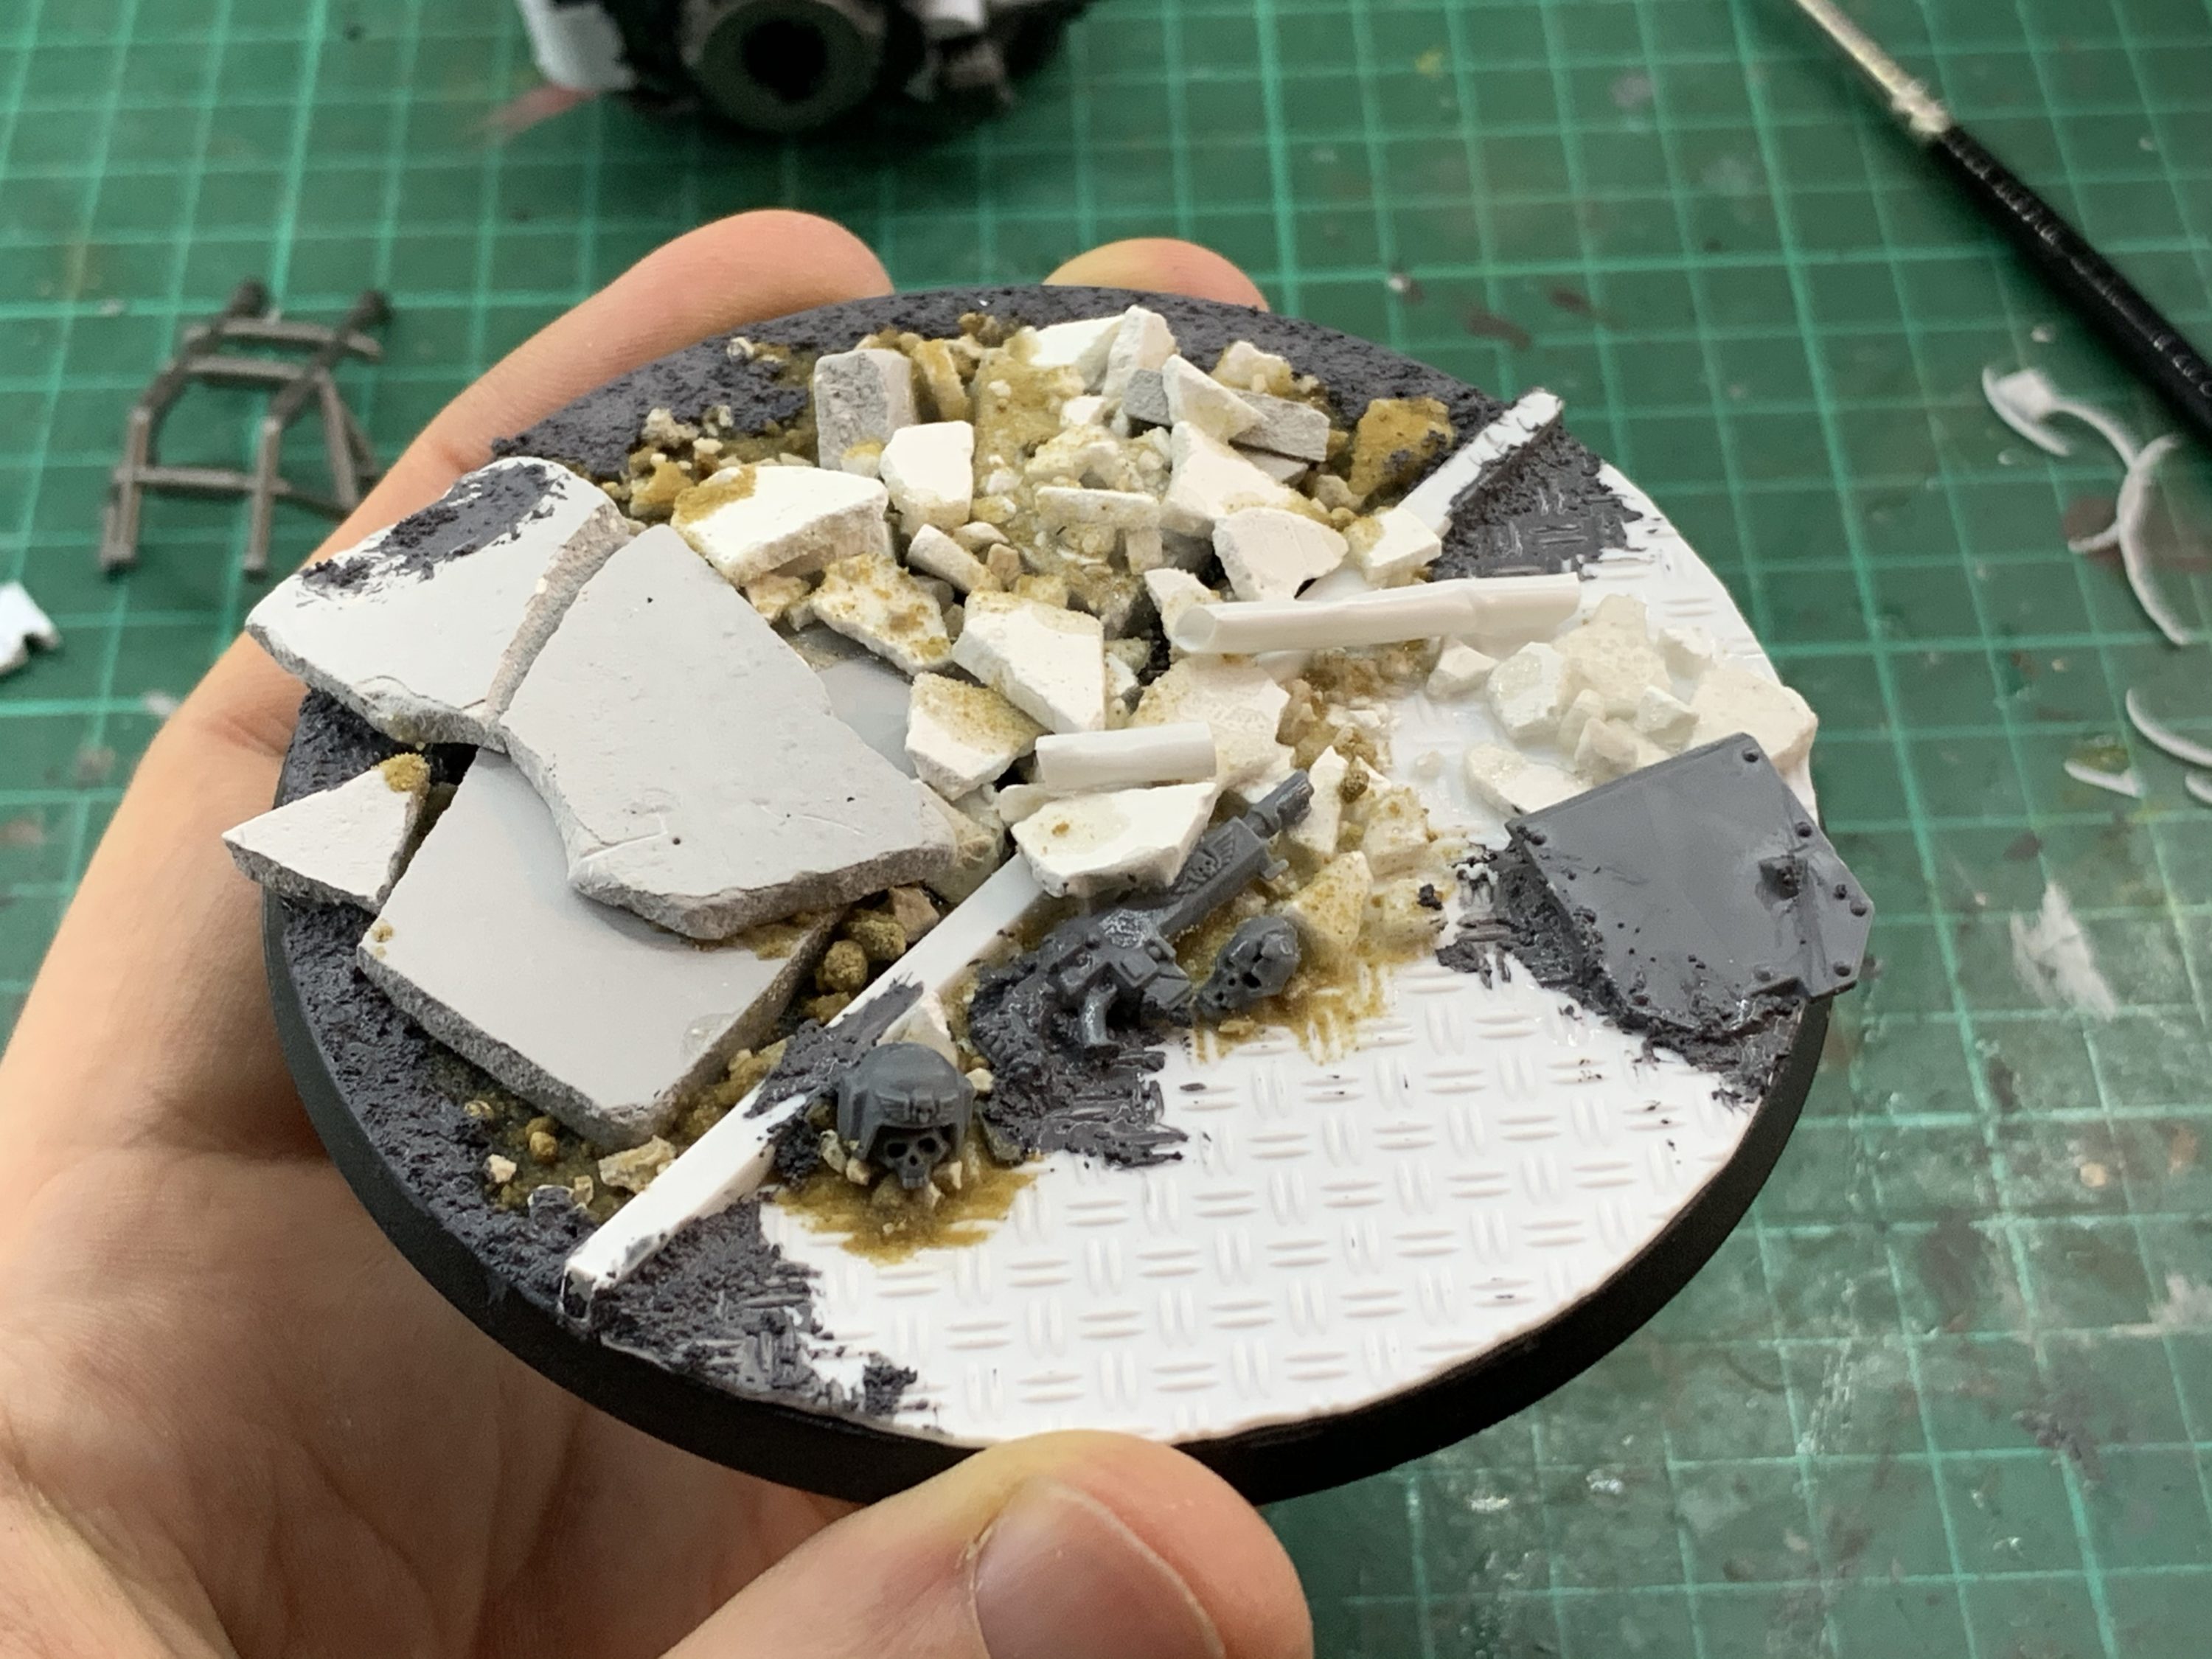
The base was build with a mix of plaster of paris rubble, which was cast, broken and arranged. Some rough sand and smaller stones to fill the gaps. Some plasticard from Greenstuffworld with the diamond pattern along with a couple of bits of plastic tubing. One for the pipes, one for the divider.
This was the base, unpainted:
Paints used:
Citadel:
- Black Spray Primer
- Rhinox Hide
- Dryad Bark
- Doombull Brown
- Ryza Rust
- Iron Warriors
- Necron Compound
- Agrax Earthshade
- Iron Hands Steel
Lifecolor:
- Rust light shadow 1
First up, let’s have a quick look at the finished part:

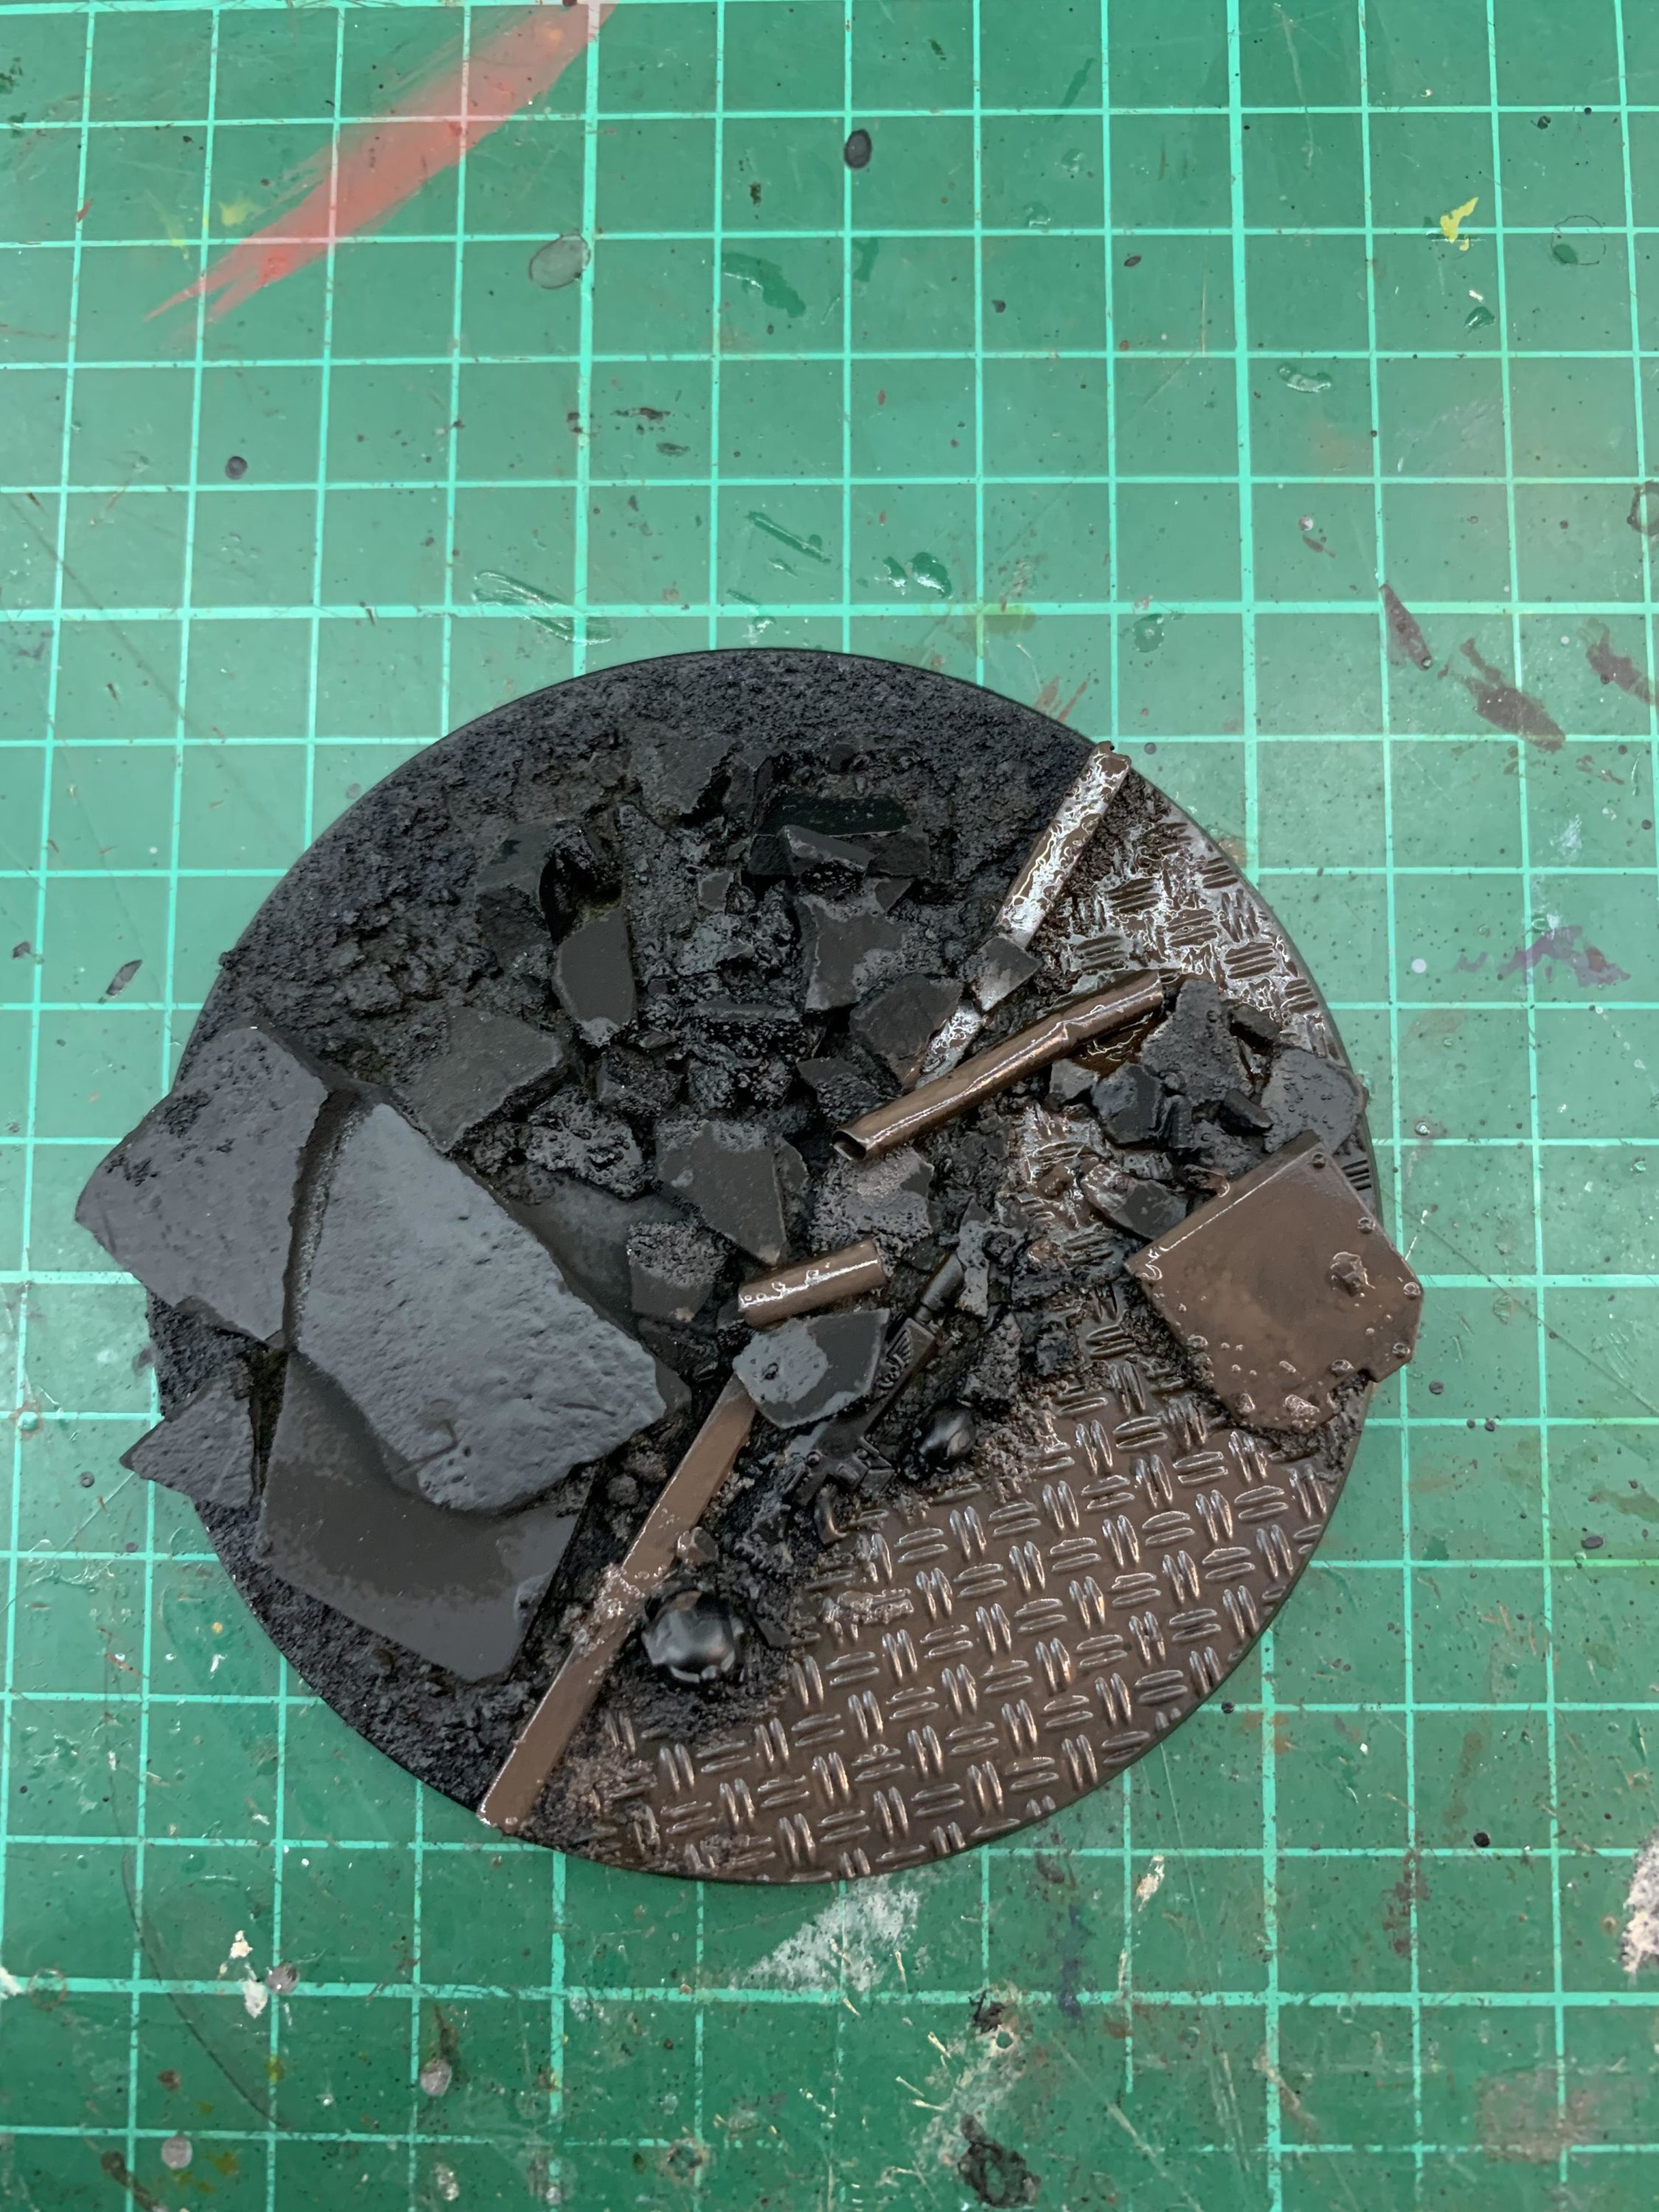
OK so the whole base is primed/basecoated in black to begin with. Then roughly applied rhinox hide to all the areas I think should be metal – so pipes, floor and the bit of debris to the right.

Then I added dryad bark roughly over top. Not right into the recesses, but in most areas – not worried about mixing/2 coats.
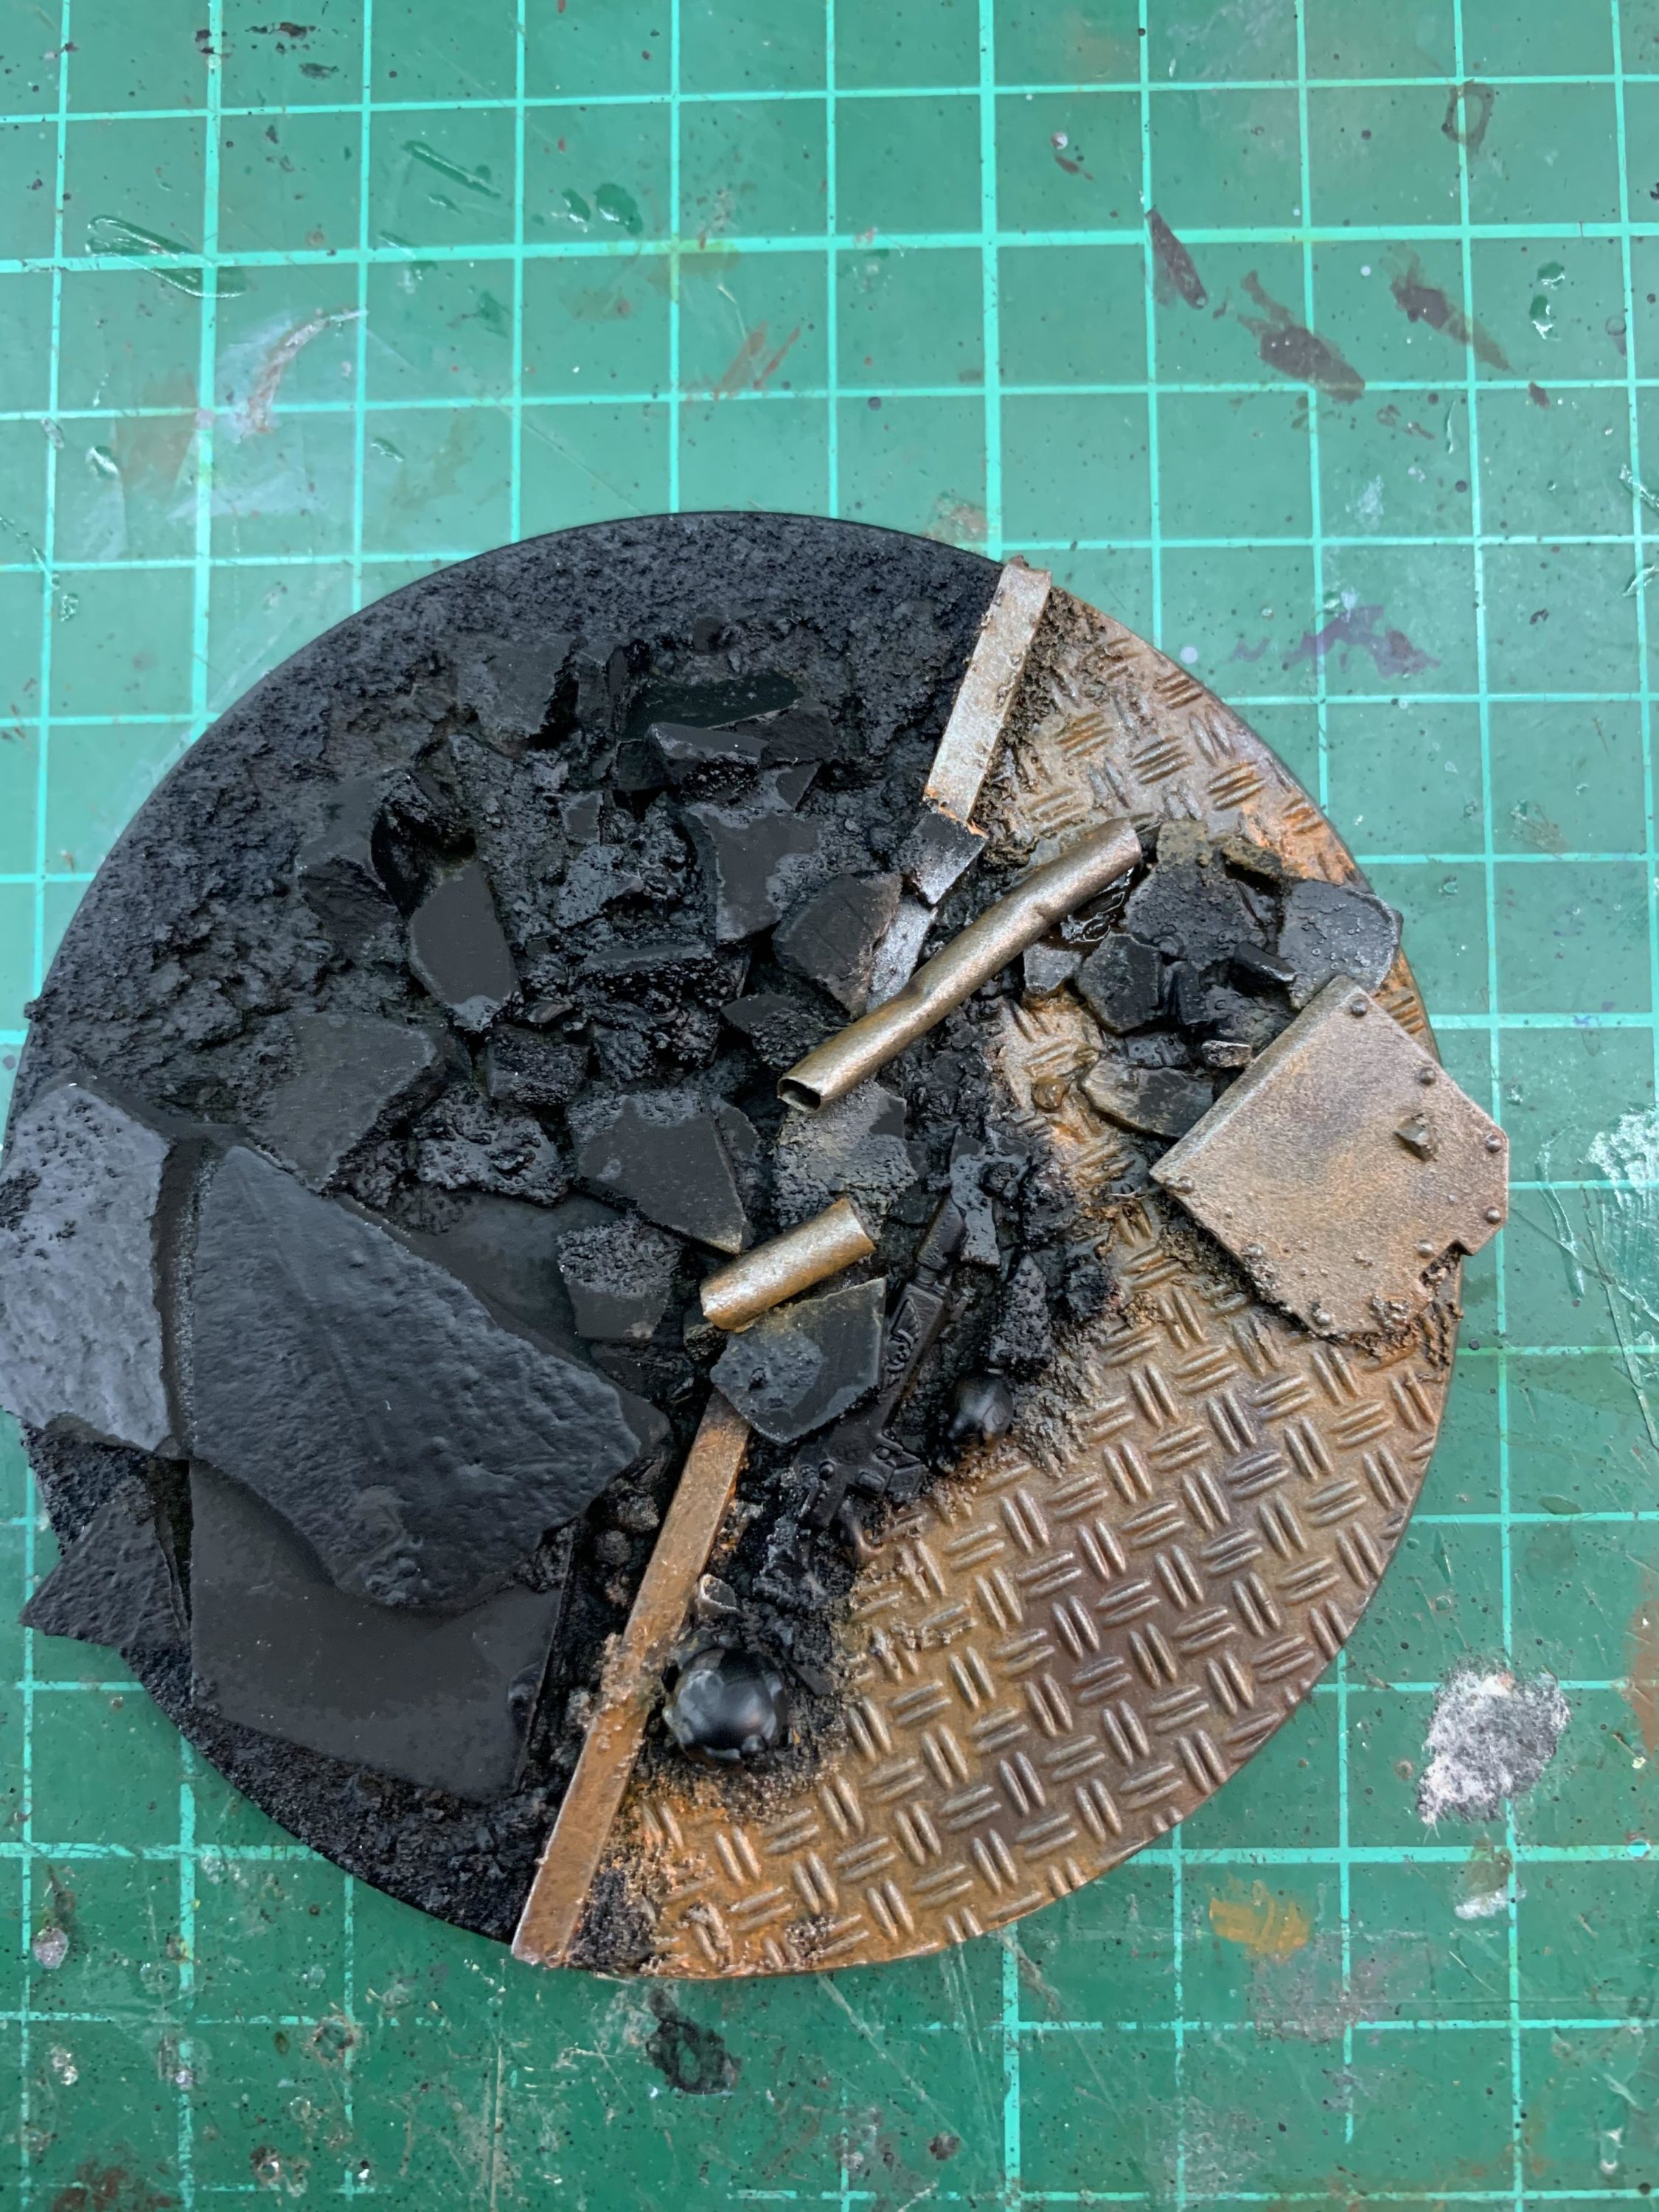
Then put on doombull brown pretty heavy with a drybrush. Not everywhere though – kept it sporadic, but covered most places.

Went in with ryza rust drybrush as you can see – tried to concentrate more on areas water would pool, but again kept it rough.

To make it look like metal, I used Iron warriors as a light drybrush. this gives it a metallic sheen but keeps it quite dulled. You can use any silver you like, I opted for dark silver. I also did a very light drybrush of necron compound to bring up one or two edges.
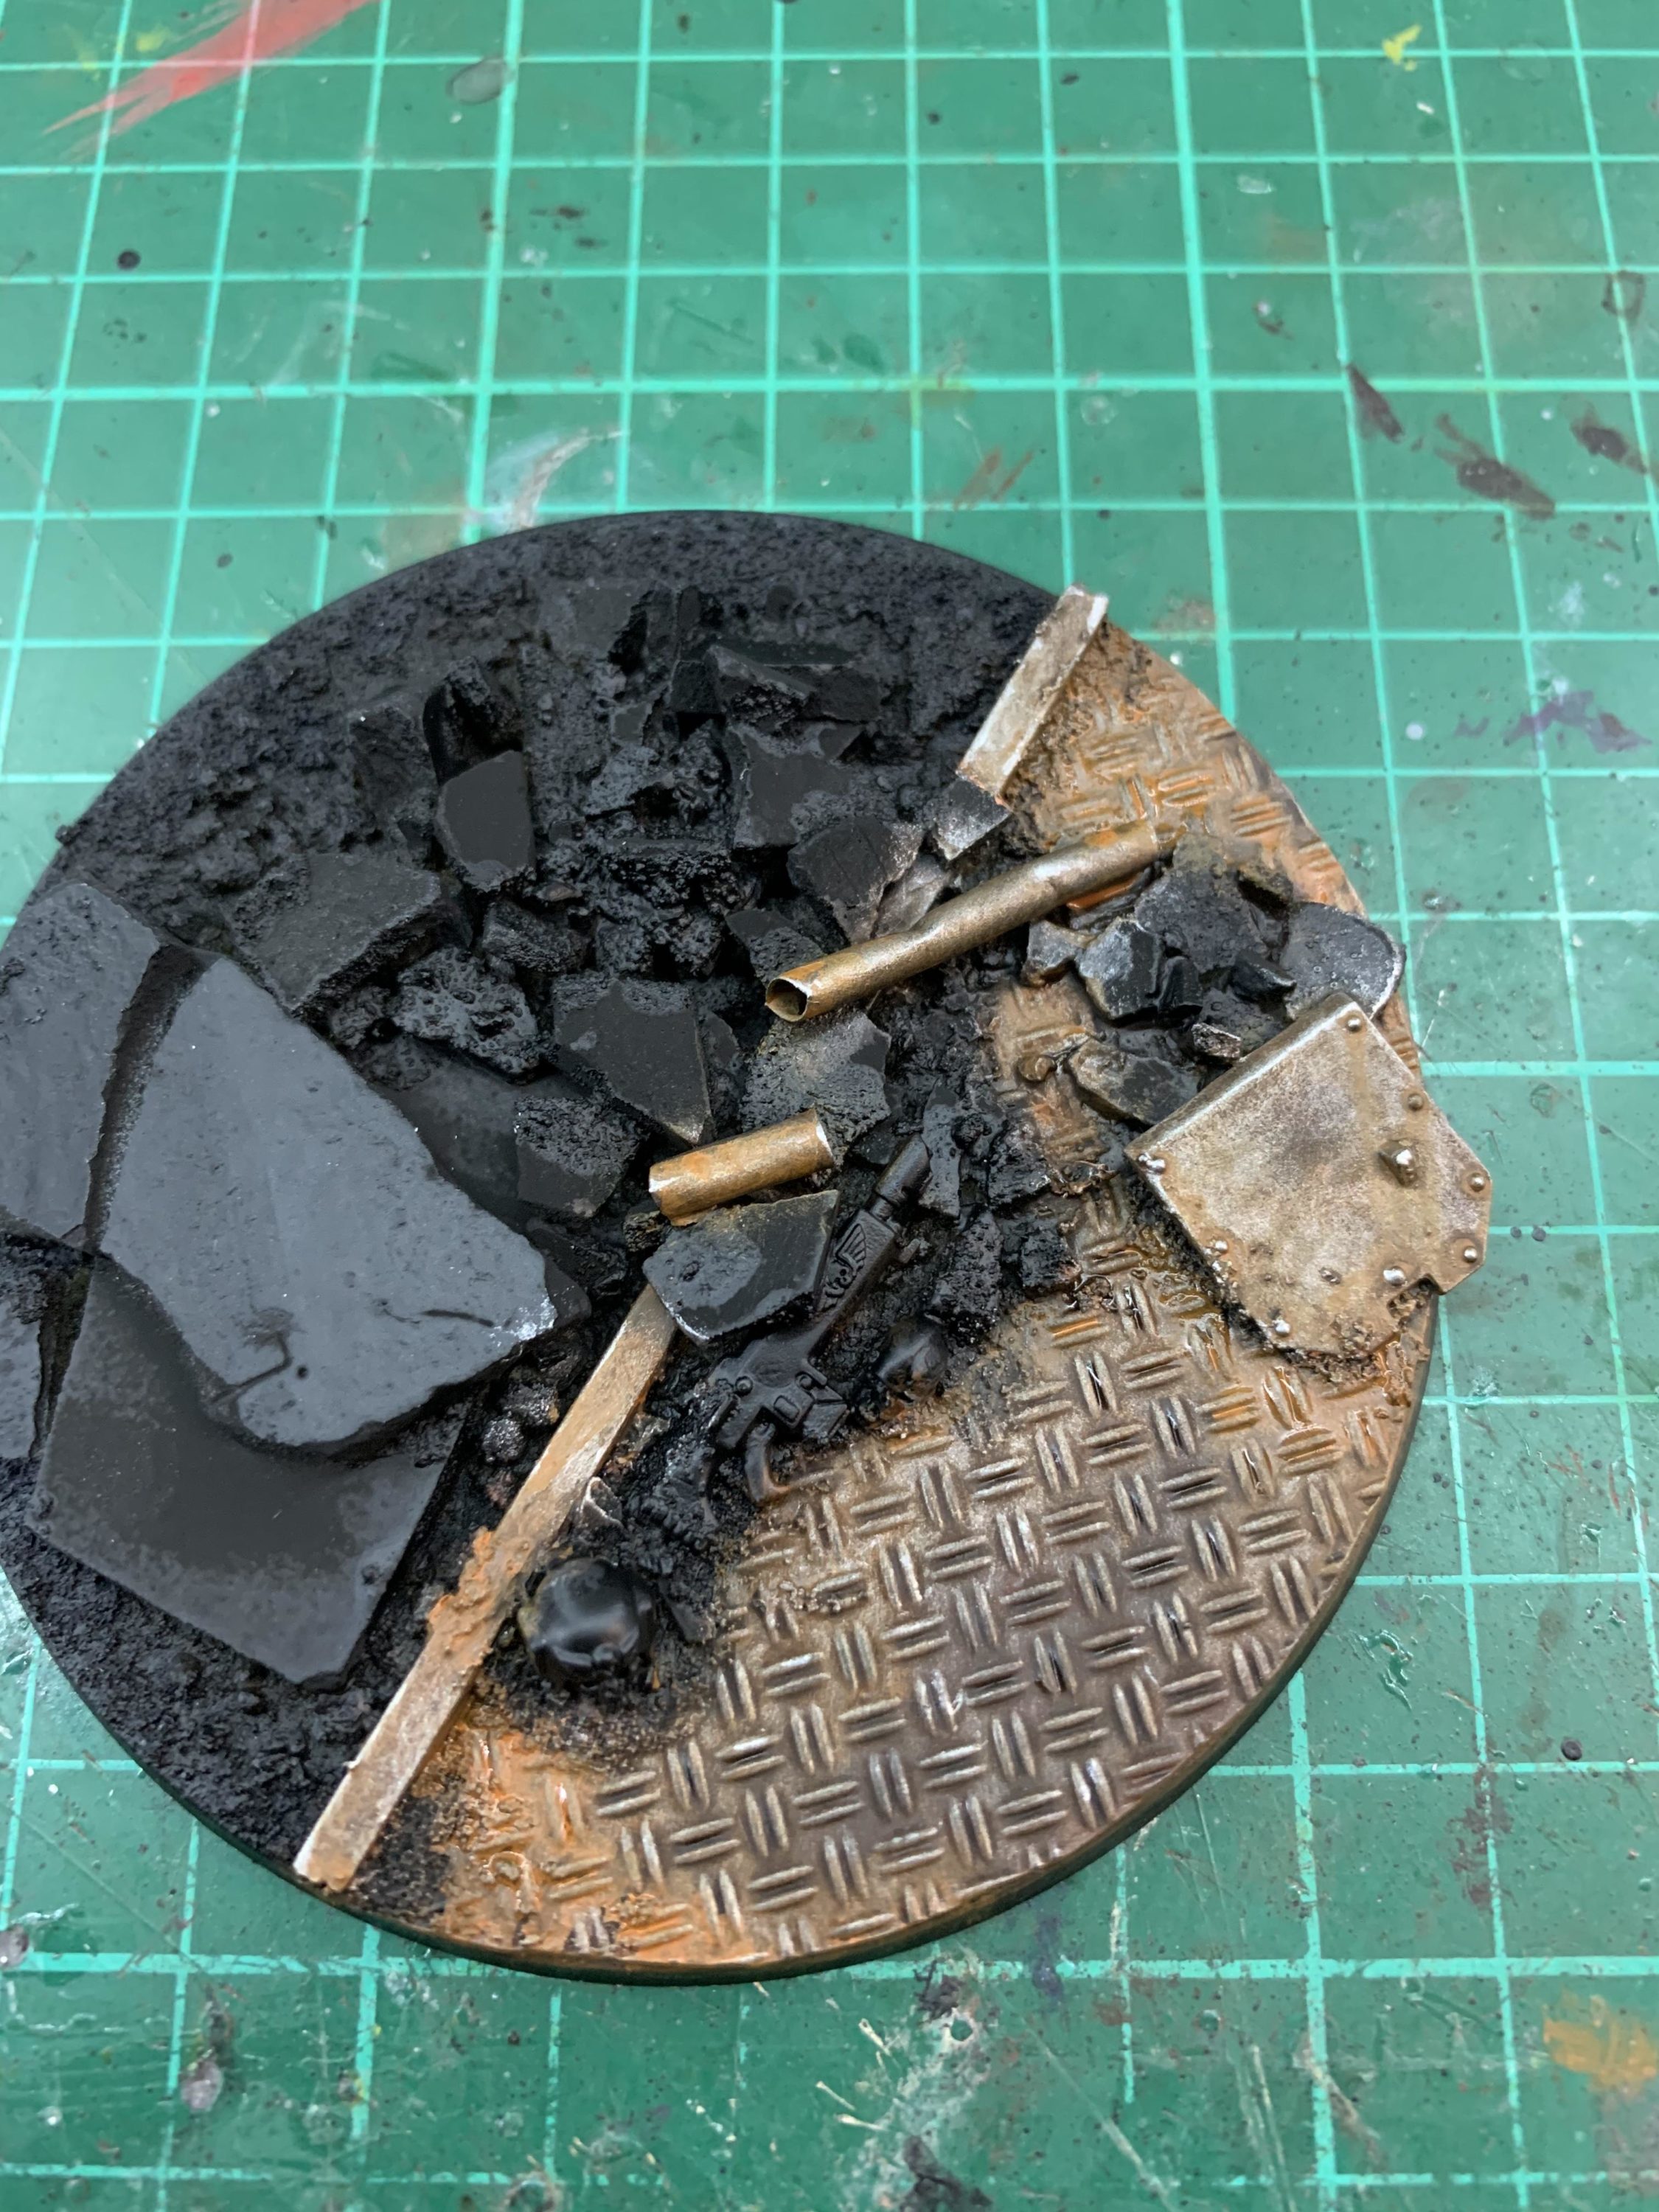
Washed the whole thing with agrax earthshade to bring it together and fill some recesses.

Because the agrax dulled some of the ryza, I wanted to bring out some more orange, so I really watered down some lifecolor “rust light shadow 1” and added it to some areas as a wash, to bring back the orange. Especially pipe ends, and areas where the rust colour might pool.

So that’s us more or less done, but to give it a bit more contrast I used a very light touch of iron hands steel on the edges in a few places.
That’ll do for now. We’re at a point where I can move on and do other parts.
Next up will be the rubble, then I’ll look at the other details.

Any questions – just comment below!
Basing Colour Recipe Part 01: Rusty Metal
Basing Colour Recipe Part 02: Urban City Rubble
Basing Colour Recipe Part 03: Skulls
Basing Colour Recipe Part 04: Abandoned Helmet & Weapon
You can keep up with any new posts by subscribing to the TinyWar list:
[…] Basing Colour Recipe Part 01: Rusty MetalBasing Colour Recipe Part 02: Urban City RubbleBasing Colour Recipe Part 03: SkullsBasing Colour Recipe Part 04: Abandoned Helmet & Weapon […]
[…] Basing Colour Recipe Part 01: Rusty MetalBasing Colour Recipe Part 02: Urban City RubbleBasing Colour Recipe Part 03: SkullsBasing Colour Recipe Part 04: Abandoned Helmet & Weapon […]
[…] Basing Colour Recipe Part 01: Rusty MetalBasing Colour Recipe Part 02: Urban City RubbleBasing Colour Recipe Part 03: SkullsBasing Colour Recipe Part 04: Abandoned Helmet & Weapon […]